Home
Home
Stop Hitting Auto: Practical Photography Tips for Beginners to Own the Frame
Transitioning from casual snapshots to intentional photography is a shift from letting a machine make decisions to taking creative control over every pixel. While modern cameras in 2026 are equipped with sophisticated neural engines and predictive sensors, the fundamental principles of light and composition remain the unchanged bedrock of a powerful image. Mastering the craft requires a balance of technical understanding and aesthetic intuition.
The fundamental mechanics of the exposure triangle
Every photograph is a product of light hitting a sensor. How much light gets in, and for how long, determines the success of the exposure. Beginners often rely on the "Auto" mode, which averages the scene to a neutral grey, often sacrificing the mood or the specific detail you intend to capture. To move past this, understanding the interaction between three variables—aperture, shutter speed, and ISO—is non-negotiable.
Aperture: Controlling depth and light
Aperture refers to the opening in the lens through which light travels. It is measured in f-stops (e.g., f/1.8, f/8, f/16). A lower f-number means a wider opening, allowing more light to enter while creating a shallow depth of field. This effect, often called bokeh, isolates the subject from a blurred background, making it a staple for portraiture.
Conversely, a higher f-number (smaller opening) keeps more of the scene in focus, which is essential for landscapes where you want clarity from the foreground flowers to the distant mountains. When starting out, experiment with Aperture Priority mode. It allows you to set the f-stop while the camera calculates the rest, giving you creative control over focus without the stress of full manual management.
Shutter speed: Capturing motion
Shutter speed determines how long the sensor is exposed to light. Fast shutter speeds (1/1000s or faster) freeze action—perfect for a bird in flight or a splashing wave. Slow shutter speeds (1/30s or slower) introduce motion blur, which can be used artistically to show the flow of a river or the streaks of car lights at night.
For beginners, a common pitfall is "camera shake" caused by hand-holding the camera at slow shutter speeds. A general rule is to ensure your shutter speed is at least the reciprocal of your focal length. If you are using a 50mm lens, try not to shoot slower than 1/50s without a tripod.
ISO: Sensitivity in the digital age
ISO measures the sensor’s sensitivity to light. In bright daylight, a low ISO (100 or 200) provides the cleanest image with the most detail. In low-light environments, increasing the ISO allows you to maintain a fast shutter speed, but it comes at a cost: digital noise. While 2026 sensor technology has significantly reduced grain at high ISOs, it is still advisable to keep the ISO as low as possible to preserve dynamic range and color accuracy.
Advanced composition beyond the basics
Once the technical exposure is handled, the focus shifts to how the elements within the frame are arranged. Composition is the visual language used to lead the viewer’s eye through the image.
The Rule of Thirds and its alternatives
Imagine the frame divided by two horizontal and two vertical lines, creating a nine-part grid. Placing your subject at the intersections of these lines—the "sweet spots"—creates a more balanced and engaging image than centering everything. However, don't let this be a rigid cage.
Centering a subject can evoke a sense of power and symmetry, especially in architectural photography. The key is intentionality. Ask yourself why you are placing the subject in a specific spot. Does it create tension? Does it offer balance?
Leading lines and geometry
Use natural or man-made lines to point toward your subject. A road, a fence, or even the shadows cast by a building can act as a visual path for the viewer. Geometry—triangles, circles, and squares—provides a hidden structure to a photo. A group of three people arranged in a triangular formation often feels more stable and pleasing than a straight line of subjects.
The 3/4 Rule in portraiture
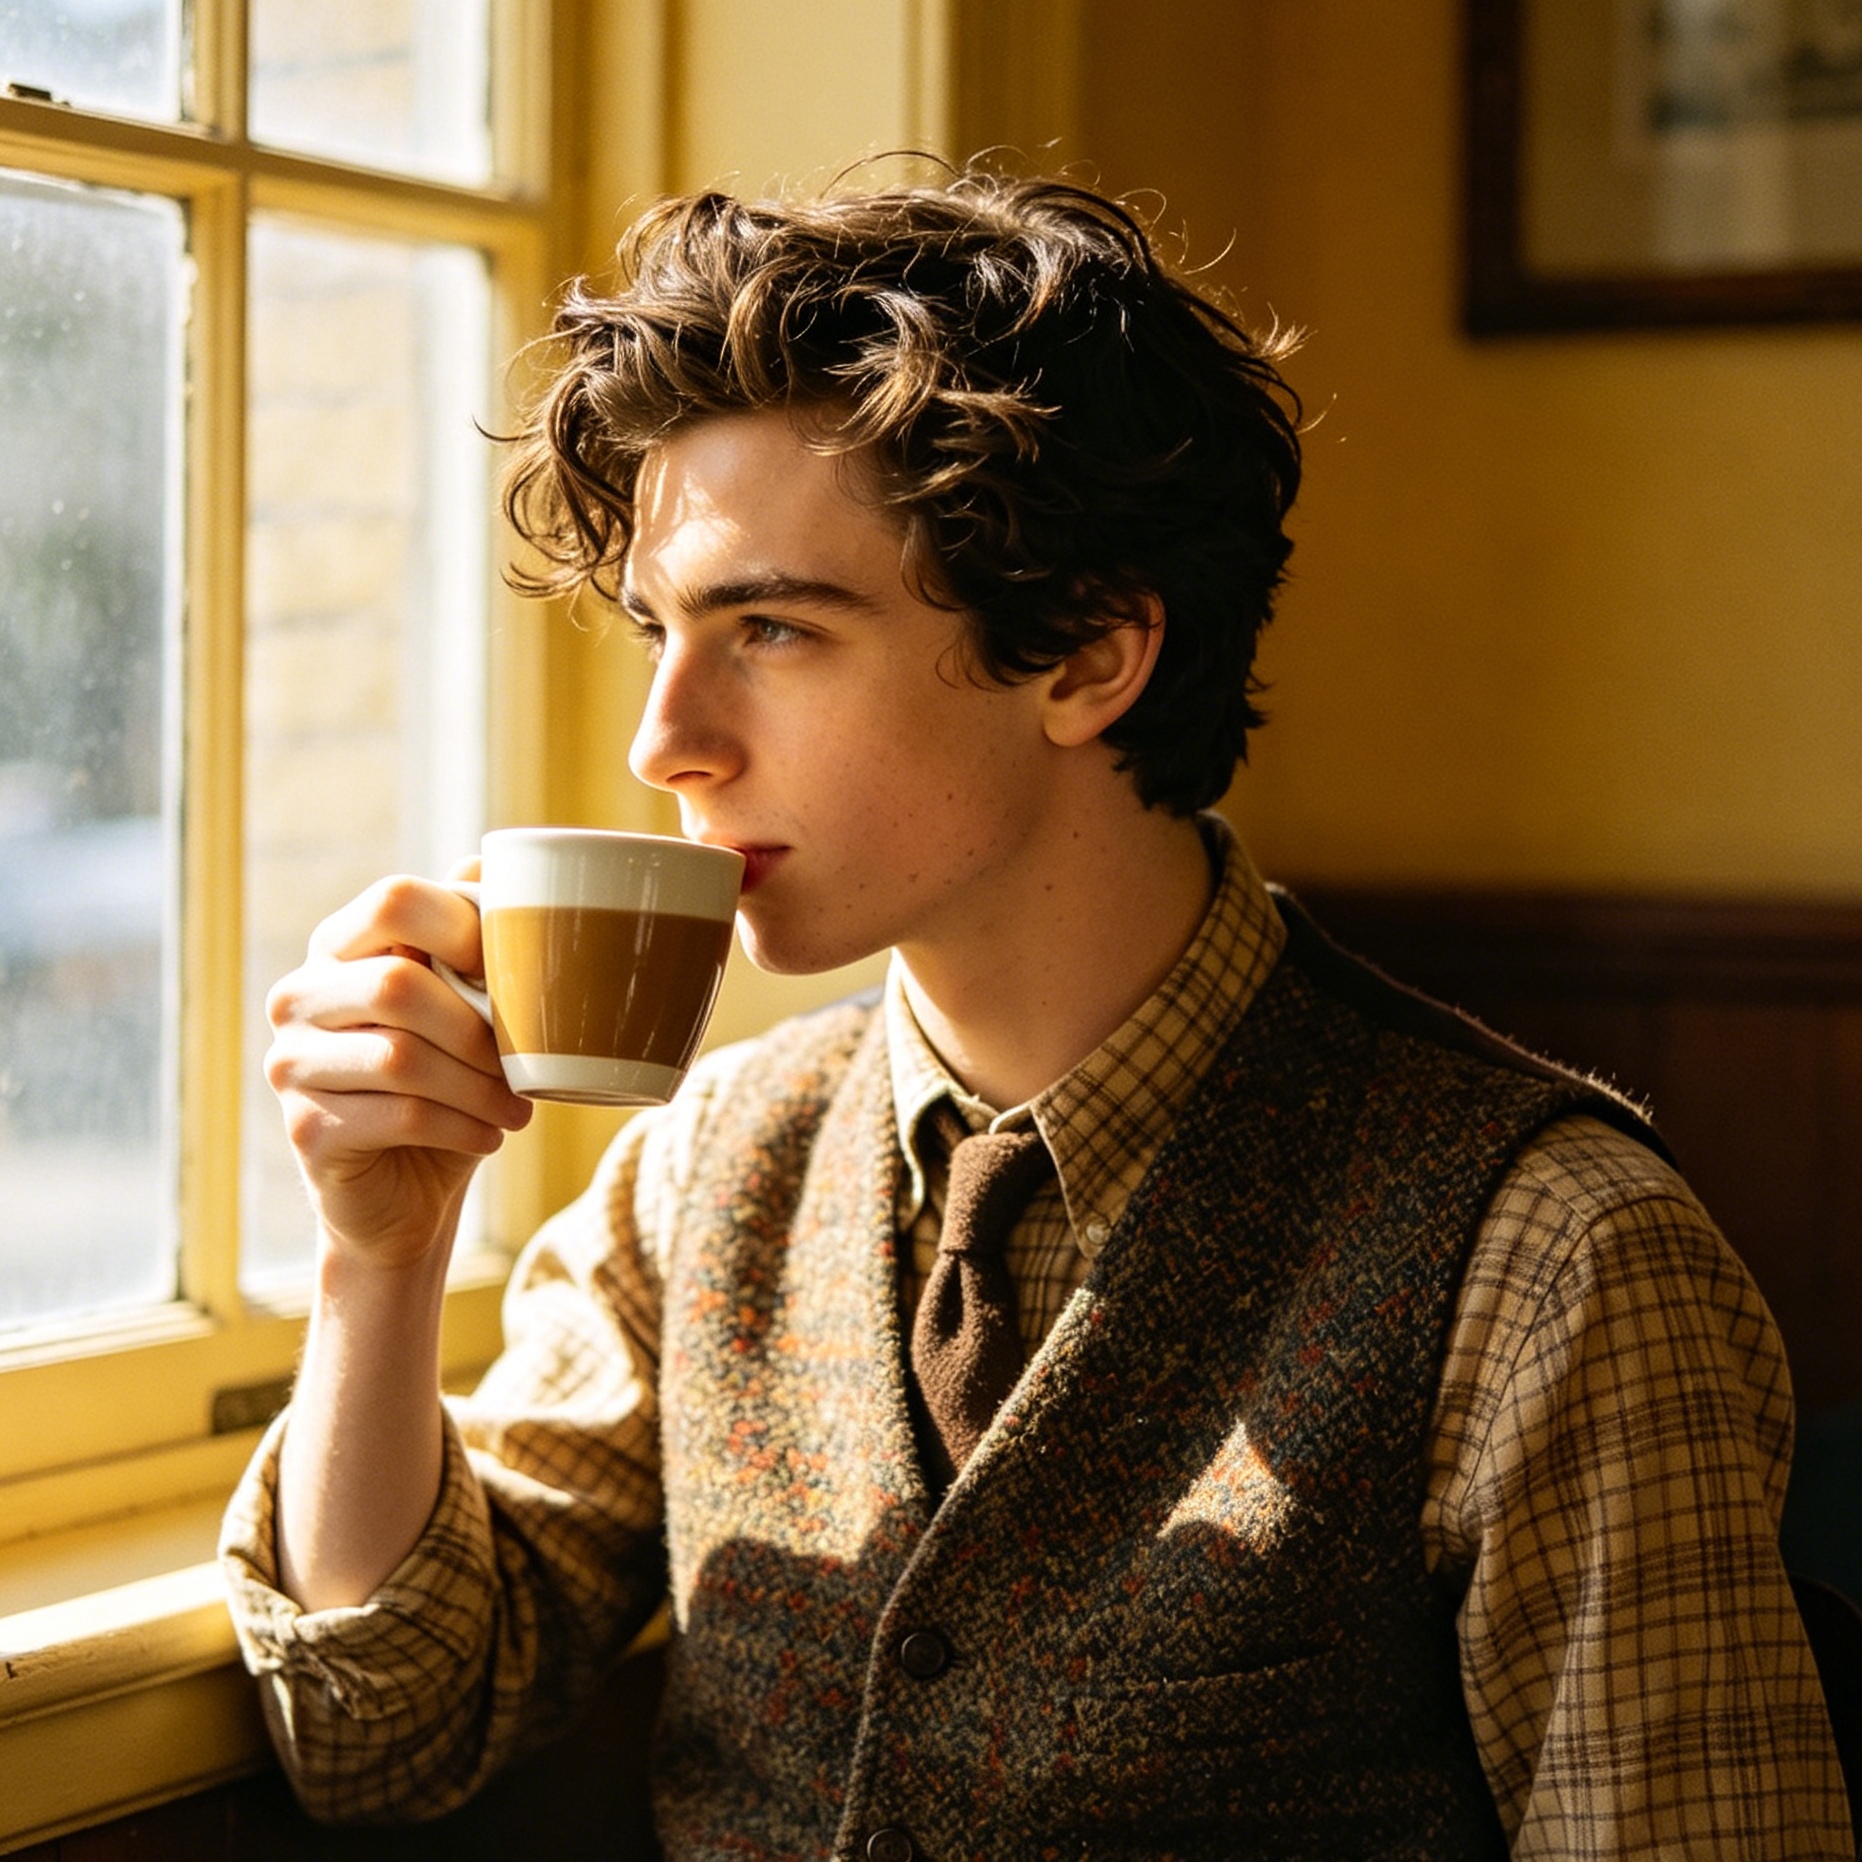
A specific tip for those interested in people is the 3/4 rule. Instead of having a subject face the lens directly, which can look flat like a passport photo, ask them to turn their body slightly away while keeping their face toward the camera. This adds depth, defines the jawline, and creates a more dynamic, three-dimensional look. It mimics how we naturally perceive others in conversation, making the photograph feel more intimate and less staged.
Mastering the quality of light
Photography is, quite literally, "writing with light." The source, direction, and color of light define the mood of the final image.
The Golden Hour and Blue Hour
Midday sun creates harsh, vertical shadows that are rarely flattering. Experienced photographers often wait for the "Golden Hour"—the hour after sunrise or before sunset. The low angle of the sun provides a soft, warm glow and long shadows that add texture to the landscape.
Directly following the sunset is the "Blue Hour," where the sky takes on a deep indigo hue. This is an excellent time for cityscapes, as the artificial lights of the buildings balance beautifully with the ambient natural light.
Using shadows and silhouettes
Shadows are just as important as the highlights. They provide contrast and shape. If you find yourself shooting in harsh light, look for patterns created by architecture or foliage. Alternatively, place your subject directly in front of a bright light source and expose for the background to create a silhouette. This strips away detail and focuses the viewer’s attention entirely on the shape and form of the subject.
Technical habits for the modern beginner
As you become comfortable with the hardware, adopting professional workflows will significantly improve your output quality.
Shooting in RAW format
Most entry-level cameras and even premium smartphones default to JPEG. While convenient, JPEG files are compressed, and much of the data captured by the sensor is discarded. RAW files, however, contain all the original data. This gives you immense flexibility during the editing process. You can recover details from deep shadows or blown-out highlights that would be lost in a JPEG. In 2026, even mobile sensors benefit significantly from the "Computational RAW" formats that combine multiple exposures into one high-bit-depth file.
Learning to read the Histogram
The screen on the back of your camera can be misleading, especially in bright sunlight. The histogram is a graphical representation of the light distribution in your image. The left side represents shadows, the middle represents mid-tones, and the right represents highlights.
If the graph is touching the far-right edge, your highlights are "clipped," meaning they are pure white with no detail. If it’s bunched against the left, your shadows are "crushed." Aim for a distribution that avoids these extremes unless you are going for a specific high-key or low-key artistic effect.
Metering modes: Helping the camera see
Your camera offers different ways to measure light. "Matrix" or "Evaluative" metering looks at the whole scene and averages it out. This works 80% of the time. However, if you are shooting a dark subject against a bright sky, the camera might underexpose the subject. Switching to "Spot Metering" allows you to tell the camera to only care about the light hitting a tiny portion of the frame (usually the center), ensuring your subject is perfectly exposed regardless of the background.
The reality of gear: Less is often more
One of the most persistent myths in the community is that better gear equals better photos. In reality, a beginner with a $5,000 kit will still produce mediocre images if they don't understand composition.
Start with a versatile prime lens
Most cameras come with a "kit lens" (like an 18-55mm). These are versatile but often have narrow maximum apertures. Consider investing in a relatively inexpensive 50mm or 35mm "prime" lens (a lens that doesn't zoom). These lenses usually have wider apertures (f/1.8), forcing you to move your body to frame the shot. This physical engagement with the scene teaches you more about perspective and depth than any zoom lens ever could.
Stability over features
Before buying a new camera body, invest in a solid tripod and a remote shutter release. Sharpness is often more about stability than sensor resolution. Even a mid-range camera from several years ago can produce stunning, large-scale prints if the image is perfectly steady and the focus is tack-sharp.
Developing your photographic eye
Technical proficiency is the floor, not the ceiling. To truly improve, you must train your brain to see the world differently.
The daily photo challenge
Commit to taking one intentional photograph every day. It doesn't have to be a masterpiece. The goal is to force yourself to look for beauty in the mundane. A coffee cup on a wooden table, the way light hits a stairwell, or the texture of a leaf—these small exercises build the muscle memory of seeing frames everywhere you go.
Critique and review
After a shoot, don't just post the best one and delete the rest. Sit down and analyze the failures. Why is the focus slightly off? Why does the background feel cluttered? Compare your work to photographers you admire. Don't copy them, but deconstruct their images. Where is the light coming from? How did they use the foreground? Learning to articulate what makes a photo "good" is the first step toward creating your own style.
The role of post-processing
Editing is not "cheating"; it is a continuation of the creative process that has existed since the days of the darkroom. Use software to enhance what was already there. Adjusting the white balance to match the mood you felt, or adding a bit of contrast to make the subject pop, is part of finishing the work. However, remember the adage: you can't fix a bad photo in post. The better your initial capture, the more effective your edits will be.
Summary of action steps
For those starting today, focus on these manageable milestones:
- Switch to Aperture Priority (A/Av): Get used to controlling the depth of field.
- Enable RAW + JPEG: Start collecting data for the future while having immediate previews.
- Watch the edges: Before clicking, scan the edges of your frame for distracting elements like trash cans or stray branches.
- Move your feet: Don't just stand and zoom. Change your height, get low, or climb high to find a unique perspective.
Photography is a journey of 99% anticipation and 1% action. By slowing down and considering the exposure triangle, composition, and the quality of light, you stop being a spectator and start being a creator. The gear in your hand is a tool; the vision behind it is the true source of the art.
-
Topic: Photography Basics Guide to Phhttps://www.nationalgeographic.com/ebooklets/ebook_general_1026.pdf
-
Topic: Photography for beginners: master the basics - Adobehttps://www.adobe.com/africa/creativecloud/photography/basics.html
-
Topic: Improve Photography Skills: Beginner Tipshttps://www.shawneastman.com/single-post/beginner-photography-tips-a-guide-to-improving-photographic-skills